Homemade pretzels are surprisingly accessible, offering a delightful culinary project for novices and seasoned bakers alike․ This guide explores the art of pretzel making,
from understanding essential provisions to mastering the shaping and baking instructions, ensuring a warm, delicious hug in every bite․
Historical Background of Pretzels
Pretzels boast a rich history, thought to originate in Europe as early as 600 AD․ Legend attributes their creation to a monk who shaped dough into the form of arms crossed in prayer – hence the name “pretzels,” derived from the Latin “pretiola,” meaning “little reward․”
Initially, these baked goods held religious significance, symbolizing good luck and spiritual fulfillment․ Over centuries, pretzels transitioned from monastic treats to a popular snack enjoyed across various cultures․ German immigrants brought their pretzel-making traditions to America, establishing Pennsylvania as a key pretzel-producing region․
The evolution of provisions and techniques has shaped the pretzel we know today, from simple, hand-twisted forms to mass-produced varieties․ Understanding this history adds depth to the enjoyment of crafting your own homemade pretzels․
Why Make Pretzels at Home?
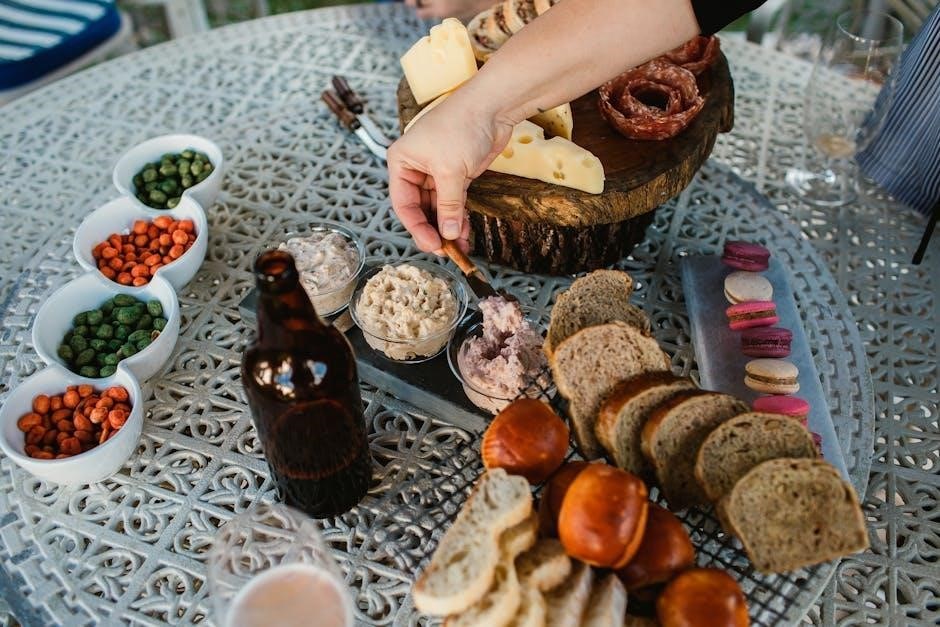
While readily available in stores, crafting pretzels at home offers a uniquely rewarding experience․ You gain complete control over the provisions, ensuring fresh, high-quality ingredients and avoiding unwanted additives․ Homemade pretzels surpass store-bought versions in flavor and texture, delivering a warm, delicious hug with every bite․
The process itself is surprisingly manageable, even for culinary novices․ It’s a fun, engaging activity, perfect for involving family and friends․ Plus, homemade pretzels allow for endless customization – experimenting with different salts, flavors, and dipping sauces to suit your preferences․
Ultimately, making pretzels at home transforms a simple snack into a personalized, satisfying creation, far exceeding the convenience of pre-packaged alternatives․
Essential Provisions for Pretzel Making
Successful pretzel creation hinges on quality provisions: flour, yeast, and notably, lye or a suitable alternative, each playing a crucial role in texture and taste․
Flour Selection: Types and Impact
Flour choice significantly impacts pretzel texture․ Bread flour, with its higher protein content, is generally preferred for a chewier, more robust pretzel, developing excellent gluten structure․ All-purpose flour can be used, but results in a softer, less substantial pretzel․
Protein levels dictate gluten development; higher protein equals more gluten․ This gluten network traps gases produced by the yeast, contributing to the pretzel’s rise and characteristic chew․ Consider experimenting with different flour blends to achieve your desired texture․
Some bakers incorporate a small percentage of whole wheat flour for added flavor complexity, but be mindful that this can also affect the rise and require adjustments to hydration․ Ultimately, the best flour depends on your personal preference and desired pretzel style․
Yeast: Active Dry vs․ Instant
Yeast is crucial for pretzel dough’s rise, but choosing between active dry and instant yeast requires understanding their differences․ Active dry yeast needs to be proofed in warm water with a bit of sugar before use, ensuring it’s alive and active․ This step takes about 5-10 minutes, indicated by foaming․

Instant yeast, also known as rapid-rise yeast, can be added directly to the dry ingredients without proofing․ It’s more convenient and often results in a slightly faster rise․ However, both types ultimately achieve the same goal: fermentation, which creates the pretzel’s airy texture․
While interchangeable, adjustments might be needed․ Instant yeast generally requires slightly less rise time than active dry․ Always check the expiration date of your yeast for optimal performance․
The Role of Lye (and Alternatives)
Lye, or sodium hydroxide, is traditionally used to create the pretzel’s signature dark color and distinct flavor – a “sharp flatness,” as some describe it․ It alters the dough’s surface, enabling the Maillard reaction during baking, resulting in that beautiful browned crust․ However, lye is highly caustic and requires extreme caution when handling, including gloves and eye protection․
For those seeking alternatives, a baking soda bath can mimic some of the effects, though the color and flavor won’t be as pronounced․ This involves boiling water with baking soda and briefly dipping the shaped pretzels before baking․ While safer, it’s a compromise on authenticity․
Understanding the risks and benefits of each method is key to a successful pretzel-making experience․
Detailed Instructions: The Pretzel Recipe
Embark on your pretzel journey! This section provides a step-by-step guide, from mixing the dough and shaping the pretzels to the crucial lye bath and baking process․
Mixing the Dough: Ingredients and Process
Creating the perfect pretzel dough begins with quality ingredients and a mindful process․ Typically, you’ll need flour, water, yeast (active dry or instant), sugar, and salt․ Some recipes incorporate a touch of butter or shortening for added tenderness․
Begin by activating the yeast in warm water with a pinch of sugar․ Once foamy, combine it with the flour and remaining ingredients in a mixing bowl․ Knead the dough – either by hand or with a dough hook – for approximately 6-8 minutes until it becomes smooth and elastic․
Proper kneading develops the gluten, crucial for that signature chewy texture․ Form the dough into a ball, place it in a lightly oiled bowl, cover, and allow it to rise in a warm place for about an hour, or until doubled in size․ This initial rise is vital for a light and airy pretzel․
Shaping the Pretzels: A Step-by-Step Guide
Transforming dough into iconic pretzel shapes is easier than it looks! After the dough has risen, gently punch it down to release the air․ Divide the dough into equal portions – typically 8-12 pieces, depending on desired pretzel size․ Roll each portion into a long rope, about 20-24 inches in length․
To form the classic pretzel shape, create a “U” with the rope․ Cross the ends over each other, then press them onto the curved base․ A quick 10-minute proofing time is often sufficient before the lye bath․
Don’t worry about perfect symmetry; rustic shapes add charm! Ensure the ends are securely attached to prevent unraveling during the lye treatment․ Mastering this step unlocks the visual appeal of homemade pretzels․
The Lye Bath: Safety and Technique
The lye bath is crucial for achieving the pretzel’s signature flavor and dark, glossy crust, but demands utmost caution․ Always wear gloves and eye protection when handling lye․ Prepare the solution by slowly adding lye to cold water – never the other way around – stirring gently to dissolve․ This creates a highly alkaline solution․
Submerge each shaped pretzel briefly, about 20-30 seconds per side․ Remove carefully with a slotted spoon and place on parchment paper․ The lye causes a chemical reaction, gelatinizing the surface․
Neutralize any spills immediately with vinegar․ While alternatives exist, lye delivers the authentic pretzel experience․ Proper safety protocols are non-negotiable․
Baking the Pretzels: Temperature and Time
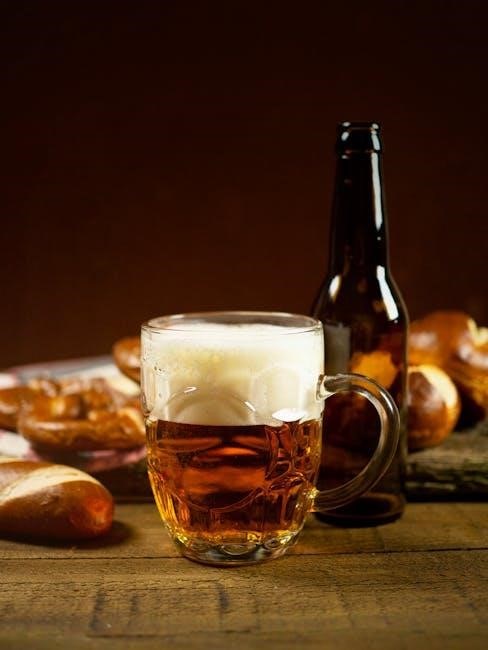
After the lye bath, transfer the pretzels to a baking sheet lined with parchment paper; Brush with an egg wash (optional) for enhanced shine and color․ Sprinkle generously with coarse salt – a defining pretzel characteristic․ Baking temperature is key; typically, 425-450°F (220-230°C) is ideal․
Bake for 12-15 minutes, or until deep golden brown․ Rotate the baking sheet halfway through for even browning․ The high heat creates the Maillard reaction, developing complex flavors and a satisfyingly crisp exterior․
Cool slightly on a wire rack before enjoying․ Freshly baked pretzels are best consumed warm, offering a delightful contrast of chewy interior and crunchy exterior․

Variations and Additions
Elevate your pretzels with diverse salt types, flavorful infusions like garlic or cinnamon, and complementary dipping sauces for a personalized, delicious experience․
Salt Choices: Coarse vs․ Fine
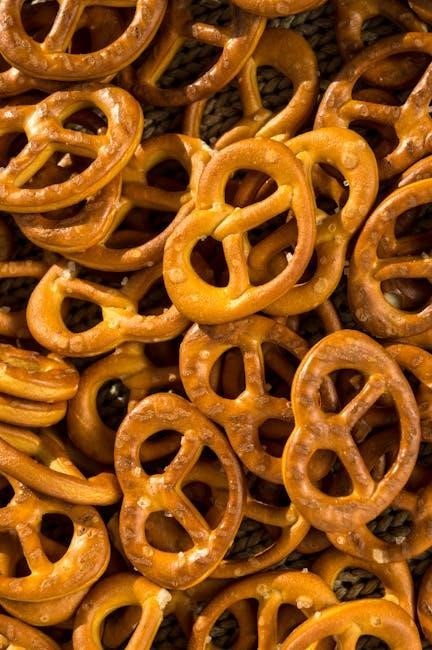
The salt selection significantly impacts the final pretzel experience․ Coarse salt, like pretzel salt, delivers a satisfying crunch and bursts of flavor with each bite, providing a textural contrast to the soft interior․ It adheres well during the lye bath, creating those iconic, visible crystals․
Conversely, fine salt dissolves more readily, offering a more evenly distributed, subtle saltiness․ While acceptable, it lacks the pronounced textural element of coarse salt․ Many bakers prefer the visual appeal and concentrated flavor of larger crystals․ Experimenting with different varieties – sea salt, kosher salt – can also introduce nuanced flavors․ Ultimately, the choice depends on personal preference, but coarse salt remains the traditional and widely favored option for authentic pretzel flavor․
Flavor Infusions: Garlic, Cinnamon, etc․
Beyond the classic salty pretzel, a world of flavor possibilities awaits! Incorporating flavor infusions into the dough or as toppings elevates the pretzel experience․ Garlic powder or roasted garlic mashed into the dough creates a savory delight, while cinnamon sugar offers a sweet and comforting variation․
Other exciting options include everything bagel seasoning, parmesan cheese, or even jalapeño powder for a spicy kick․ Experiment with herbs like rosemary or thyme for a more sophisticated profile․ Remember to adjust seasoning amounts to complement the pretzel’s inherent saltiness․ These additions can be incorporated directly into the dough during mixing or sprinkled on post-lye bath, before baking, for a customized pretzel creation․
Dipping Sauces: Complementary Flavors
A truly satisfying pretzel experience isn’t complete without the perfect dipping sauce! Complementary flavors enhance the pretzel’s texture and taste․ Classic choices include mustard – from spicy brown to sweet honey mustard – providing a tangy counterpoint to the saltiness․
Cheese sauces, like cheddar or beer cheese, offer a rich and comforting pairing․ For a sweeter option, consider chocolate sauce or a cream cheese-based fruit dip․ Don’t overlook savory dips like beer cheese fondue or a spicy queso․ Experimenting with homemade sauces allows for complete customization․ Ultimately, the best dipping sauce is the one that best suits your personal preference and the pretzel’s flavor profile․
Troubleshooting Common Issues
Encountering problems during pretzel making is normal! Addressing issues like insufficient rise, dense textures, or uneven baking ensures a successful and delicious homemade pretzel outcome․
Pretzels Not Rising
Insufficient rise is a common frustration when crafting homemade pretzels․ Several factors can contribute to this issue, often stemming from the yeast․ Ensure your yeast – whether active dry or instant – is fresh and properly activated․ Check the expiration date and follow package instructions for proofing․
Water temperature is crucial; it should be warm (around 105-115°F) but not hot, as excessive heat can kill the yeast․ Also, consider the flour selection; using too much whole wheat flour can inhibit rise․ Finally, adequate proofing time is essential – even with a shorter proofing time of 10 minutes, a warm environment is vital for optimal dough expansion․ A cold kitchen will significantly slow the process․
Pretzels Too Dense
Dense pretzels often result from overworking the dough, developing too much gluten․ While gluten development is necessary, excessive kneading leads to a tough, compact texture․ Be mindful of mixing time and avoid adding too much flour during kneading, as this exacerbates the issue․
Insufficient proofing also contributes to density․ Even if the dough appears to have risen, it may not have developed enough air pockets․ Ensure a warm, draft-free environment for proofing․ Furthermore, the lye bath, while crucial for flavor and color, can sometimes contribute to a denser texture if the bath isn’t properly balanced or the pretzels aren’t submerged correctly․
Uneven Baking
Unevenly baked pretzels frequently stem from inconsistent oven temperatures or improper rack placement․ Ensure your oven is accurately calibrated and preheated thoroughly․ Rotating the baking sheet halfway through the baking process promotes even browning․ Overcrowding the sheet also hinders airflow, leading to patchy results;
Variations in pretzel thickness or shape can also cause uneven baking; strive for uniformity when shaping․ The lye bath plays a role too – inconsistent coating thickness affects how the pretzels brown․ Finally, remember that different ovens bake differently; monitoring closely and adjusting baking time accordingly is key to achieving golden-brown perfection across all your homemade pretzels․

National Pretzel Day & Month
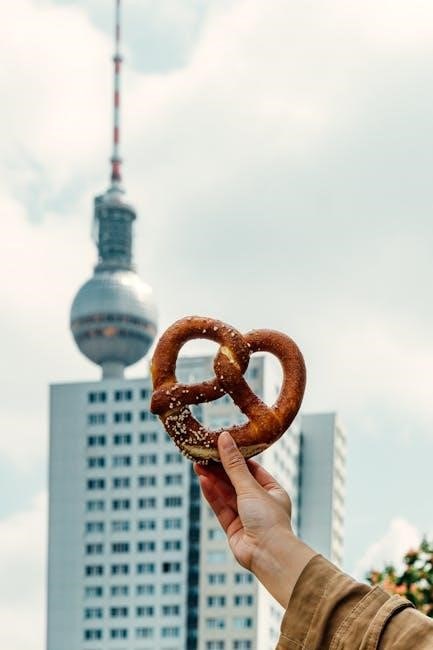
National Soft Pretzel Month is celebrated every April, culminating in National Pretzel Day on April 26th in America! This provides a fantastic opportunity to embrace the joy of pretzel making and share these delightful treats with friends and family․ It’s a chance to appreciate the history and craftsmanship behind these twisted delights․
Whether you’re a culinary novice or an experienced baker, homemade pretzels offer a rewarding experience․ Gathering the necessary provisions and following detailed instructions allows anyone to recreate the stadium or movie theater experience at home․ Celebrate by experimenting with flavors and enjoying the warm, comforting taste of freshly baked pretzels!